Showing posts with label DIY. Show all posts

Monday, March 12, 2012

Nerding Out: Essential Oils

Toddler Melissa doing "homework."
I used to like doing homework. A lot. It was satisfying to come home from a long day of school and practice what I had learned. Perhaps I would fill in the blanks, or circle the one thing that was not like the other things, or, in later years, solve for x. I didn't always get the right answer (especially when it came to finding x), but I was grateful that there was a right answer, and that I could tune out all the surrounding chaos at home and try to find it. 

Fast forward to today. Here I am, a much older nerd, about to isolate the essence of cinnamon by extraction with methylene chloride. See how laughter and joy is just pouring out of me? 

Wouldn't this make a great passport photo?
In fact, isolating natural products is cool, if a little tricky. There's a real art to distillation technique. It made me want to do it at home without using toxic chemicals. If you decide to make your own essential oil don't ingest it. That would be gross. 

Here's how we did it in the lab:

1) Take a cinnamon stick and break it up into smaller pieces. The pieces were placed in a round bottom flask with 4 mls of water and a boiling stone.

Use stick, not powdered cinnamon for better results.
   
 2)Attach a still and condenser to the flask, heat it in a sand bath at 150-160 degrees C. 

Hickman still and air condenser.

3)A milky distillate forms in the still. This was removed using a syringe and placed in a centrifuge tube.


4) The organic layer of essence was extracted from water in the distillate using methylene chloride.

Milky layer of plant matter.

 
5)We evaporated the methylene chloride over gentle heat, and analyzed the product. 

Yay a graph!
Essential oils smell great and distilling them has been a human endeavor since the early days of alchemy. I find it fascinating that the way a molecule is shaped determines how it tastes or what odor it has. 

Have you ever chewed spearmint gum for a really long time and noticed it eventually tastes kind of like rye bread? Carvone is the molecule responsible. In one form it is the flavor of spearmint, but its mirror image is the flavor of caraway seeds. 

Somehow I manage to out-nerd the graph.

 
There are so many flavors to experiment with. If you don't have a still (who does?) you can use jojoba oil, add some crushed flower petals, or the rind of an orange, or fresh mint leaves. Let the plant material steep in the oil for a day or two in a closed container. Strain the oil and repeat until you get your desired pungency. 

-Melissa
 

Sunday, February 12, 2012

Easy DIY Paper Flower Valentine's Necklace? Yes, Please!

I'm I big fan of paper flower making {here's a number of books that are great resources!}. I've been dabbling in it for the last fifteen years or so (I know you're impressed, but remember the Chinese have apparently been doing it for two thousand years, and the Mexicans have been making them with gusto for centuries....) For Valentine's this year I thought I'd get crafty and make myself a snazzy paper flower pendent. If you're interested in creating something similar, here's my how to:
The finished product!
What you'll need: 
sturdy and beautiful magazine pages 
or pages of old books
needle
thread
scissors
a metal necklace chain or embroidery floss/string


1. Decide the size of your flower, and cut four large petals {as with all things in nature, variation in flowers is the norm, so there's no need to be obsessively precise}. 
2. Cut three smaller petals 
3. Over lay large petals so they touch in center, sew securely together {don't worry about stitches being perfect. But since you are sewing on paper, try not to put the stitches too close so as not to rip the paper}. 


4. Roll the smaller petals into loose cones, and sew each, one at a time, into center of flower. 


5. Lay out necklace chain, or string/ embroidery floss you have cut to size, and place flower where you would like it to lay. 


6. Sew flower to necklace. 
7. Sew bead to center for finishing touch. 
8. Go have dinner with your sweet heart! 


* Marcie

Wednesday, December 21, 2011

Sugar Body Scrubs! Last minute gifts you can make in a hurry!


Easy to make sugar body scrubs! *Phot by my friend Anyelis
As Christmas is fast approaching, I wanted to do just a few more posts on some last minute ideas. At the beginning of November one of my girlfriends, Anyelis, hosted a sugar scrub making party.

Now, I certainly love a party, and this was a good one. Anyelis gathered some friends, created a facebook page, where we divided who would bring what ingredients and what toppings for our ice cream desert. Introductions were made, and we set to work creating yummy smelling scrubs to give as Christmas gifts. You probably don’t have time to get a party together before you light the Yule log, but you can still whip these bad boy scrubs together before the 25th! The whole process can take you way less than an hour, and you probably have allot of the ingredients already. Anyelis found a good recipe and great instructions for making and decorating at Maybe Matilda.


If you have mason jars, excellent, but if not you can recycle any nicer looking glass containers and lids which may at one time have contained, oh let’s say pickles or spaghetti sauce ;) I believe the jar I used once housed specialty goat cheese. Just wash thoroughly and remove any paper labels. Next you whip up your scrubs, for which several bloggers have their own recipes but Rachel from Maybe Matilda recommends:

- 3 cups white sugar
- 1 cup + 2 Tbsp. good quality oil (I used olive oil, but you can use any nice, non-smelly oil)
- 10 drops of yummy-scented essential oil per jar (I went with mandarin, peppermint, and lavender)
                                                                                                                                          Rachael-
 
Body Scrub Party! Beautiful and yummy smelling presents you can make in a flash!
At the party we went to town and created various scrubs with lots of different scents and colors. You can avoid chemicals by purchase organic food coloring from local natural food stores or Amazon, but since this the pre-Christmas time crunch if you just use any old food coloring have laying around I’m not going to tell…. Mixing is simple; just use a little bit of the coloring at a time to get a hue you like.


Mirelis, Nilda, Carolina, Anyelis, Katie, and Lina decorating their jars.
 You can also add cocoa powder for a sweet chocolate smell and rich brown color. Anyelis also suggested we add vitamin E. Next, decorate, decorate, decorate those containers! Go all out!  Have fun, and have a Merry Christmas!


                                 *Marcie


Tuesday, December 20, 2011

Homemade Couture for your Christmas Giraffe!

Mr. Gerald Giraffe looking swanky in his upcycled duds!
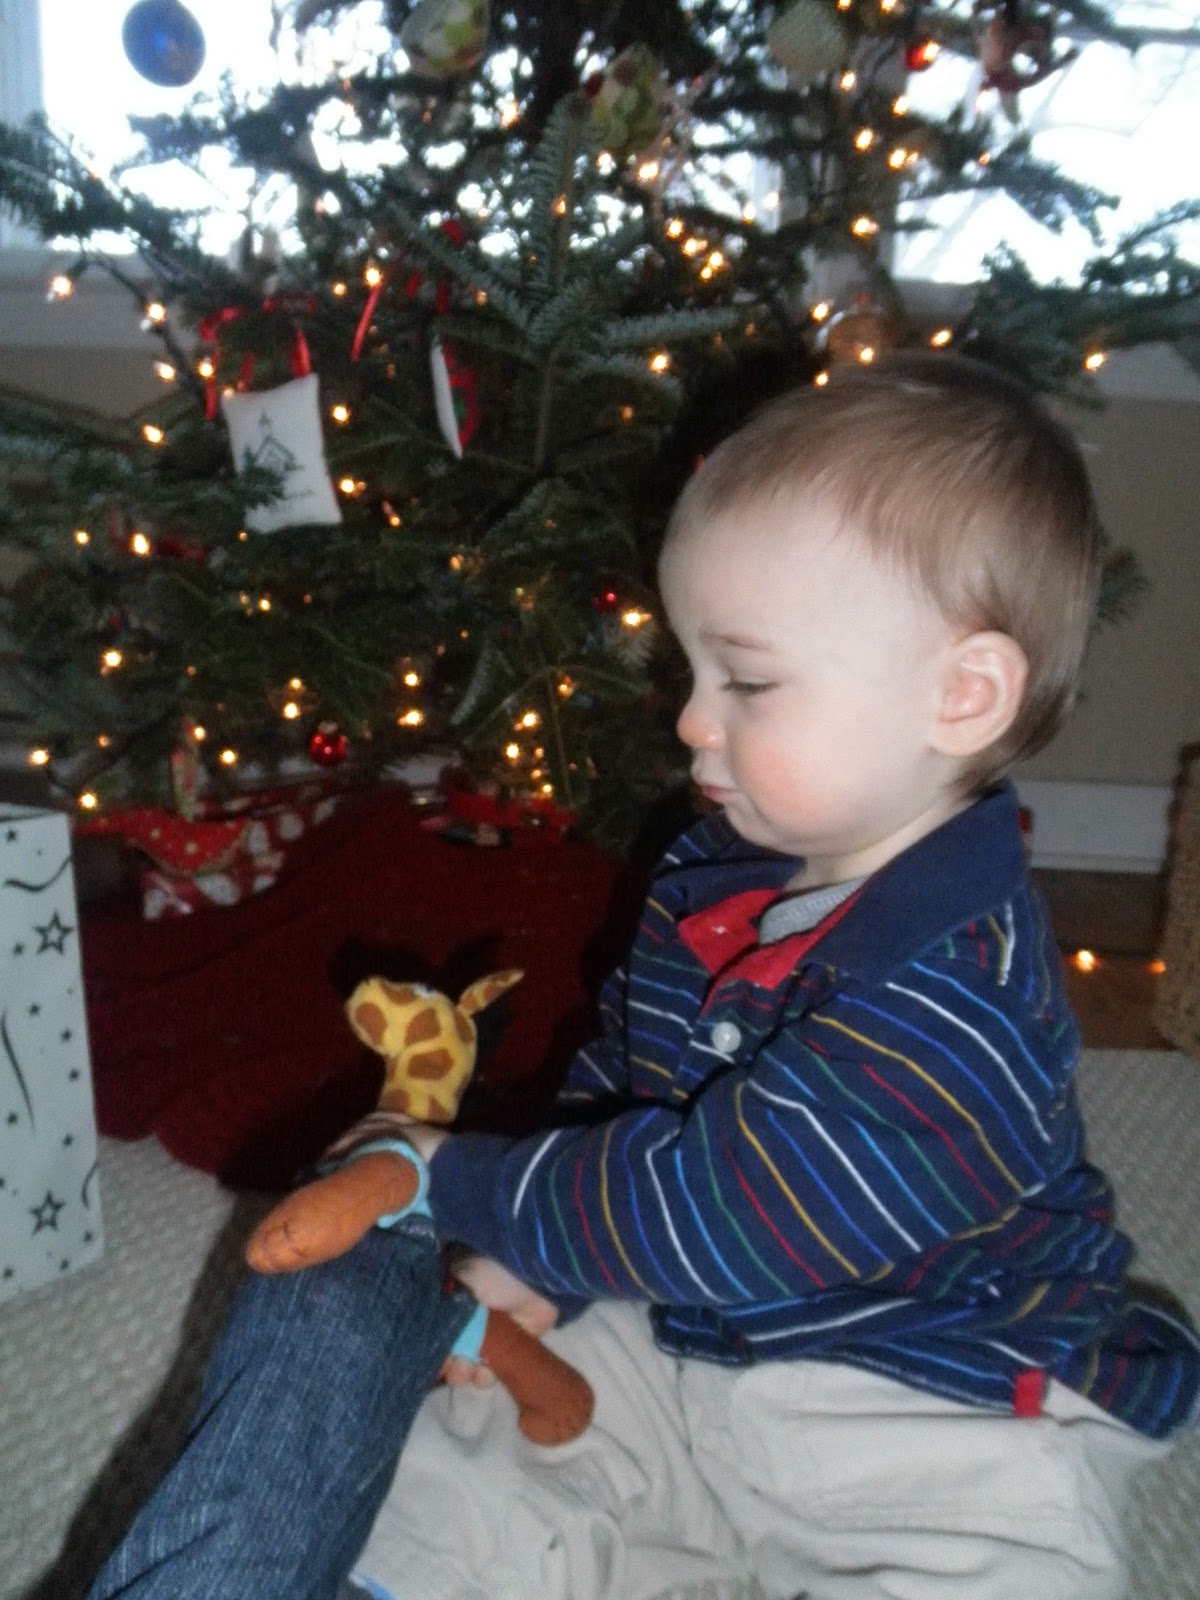
Back in 2010 when I found out one of my closest girlfriends, Sarah, was pregnant, I was thrilled for her and her husband Joe! They are such kind and also funny people (the two characteristics I value most ;) and I knew any baby of theirs would be equally awesome. Shortly after I heard the news I was in my favorite Fair Trade shop, Ten Thousand Villages, when I saw an adorable giraffe doll I thought would be perfect for the soon to be born baby {unfortunately, they no longer make this Giraffe, but they still have other great toys}. Sarah and Joe decided to wait until the birth to find out the sex of the baby, but I had this feeling the little one was a girl. This being the case, I purchased the giraffe in a dress. But it became apparent I chose incorrectly! Little baby boy Christian was born in January, and when it came time to give him his Christmas gift I wanted to make this Geraldine Giraffe into a Gerald, I it occurred to me this transformation would be a good submission for the DIY round up from the Ethical Fashion Bloggers!
Overalls back view

I tend to keep scraps of fabric I like from old clothes or projects I done {my sister calls it hoarding, I prefer to think of it as being prepared}. I pulled out the legs from some stretchy jeans I made into shorts last summer and the top of an old shirt of mine I had cut, and I set to work creating the adorable little ensemble you see before you! Now, for doll clothes you can buy patterns, and I certainly recommend them for complicated work. However, I’m adventurous, so I lay the giraffe over my fabric, left myself room for the seam, and cut from there. To get the crotch of the pants correctly cut (you have to curve them) I grabbed a pair of my own and looked at it as a guide for the shape.

My very old Kenmore sewing machine!

When making clothes for a stuffed animal, I recommend using stretchy fabric as these little guys tent to have more than their share of curves. For instance, Gerald Giraffe is extremely curvy about the hips, but a well-tailored pair of overalls hides that quite nicely! Sewing human sized clothes in stretchy fabric with a typical sewing machine is not ideal, as the stitches here can rip from human movement. You’ll want a serger machine for that, but for a stuffed animal whom we don’t expect to be independently mobile, using your normal sewing machine and a zigzag stitch is more than fine. To hold up Gerald’s cute little overalls I used part of a brown ribbon, which was wrapped around box of chocolates.

Look at those chubby cheaks!!!

I was very lucky to be able to visit Sarah, Joe, and Christian this past weekend, and I’m very happy to report he is very fond of his new Giraffe! Go Auntie Marcie!

Christian, a beautiful and bright baby boy!


Wednesday, December 14, 2011

Kick-Ass Christmas-Craft Party and Gifts!


Our gang of elves, created 10/12/11!
One of the things I love most about the Holidays is the parties! Christmas, New Years, and my birthday, which is Christmas Eve. Spur of the moment I decided to through myself an early party. You don’t need to plan for weeks and weeks, so it’s not to late to put together a holiday get together of your own! My friend Nate holds weekly screenings of VHS movies (and here’s the blog), and this month has been showing Christmas flicks. He gathers friends, gets some food, and pops in a tape, and presto -instant party! All you need is good friends, some food, and maybe something to do. We have time before Christmas, so what are you waiting for?!

Nathelie, Nikki, Mekissa, me, Miriam, Jess, and Brie
This past weekend I had a small birthday and Christmas party, affectionately named, “Marcie’s Kick-Ass Holiday Craft and Birthday Party.” Seeing as there are parties every weekend in December, I do concede it’s a tough time of year to get people to come to a  party, but you just have to invite lots of folks!  A little under half of who got invites were able to come, and I am so thankful they did! For this little gathering the wine flowed freely, the Christmas records spun constantly, and hands were busy making awesome crafts.

busy bees!
The inspiration for these awesome pinecone elves came from Martha Stewart’s 2009 December Magazine, but my mommy tells me they’ve been around since the 70’s. Kia, Maya, Mark, Steve, Jess, Nathalie, Miriam, Phil, Brie, Melissa, and Nikki make totally bitchin’ pinecone elves and pipe cleaner decorations!
Steve and his many stars!
All dressed up with no where to "snow"

The pipe cleaner stars are so simple! Just three take metallic pipe cleaners, cut in half, so you have six pieces, and twist in the middle! Add a ribbon, and poof (!) Christmas cheer! Also, they are super easy to bend and twist into the shape of other Christmas symbols! These elves are super easy, and kids just need a little help with the glue gun for the pinecones. Both of these crafts make sweet whimsical gifts for the holidays!


Marcie, Maya, Kia, and yes, this is my kitchen!

Kia and I recently joined the Ethical Fashion Bloggers, a group of fashion bloggers concerned with social, environmental, and all around sustainability in the world of looking stylish. Ceri, the organizer recently put out a call for Christmas/Holiday party outfits, so Kia and I submitted this pic.  Because the main activity of this party was making Christmas crafts, we went low key and casual for our attire.  I am proudly wearing a tunic dress I sewed last year using a Simplicity pattern, leggings from American Apparel, and knee high leg warmers I found in my grandma’s closet! My hat is from Krochet Kids International, a fair trade non-profit that employs women in Uganda and Peru so they can support their families. It was given to me as a birthday gift last year by my good friend, Malorie.
Kia and Maya making stars

Kia’s daughter, Maya, is attired in a tunic dress, much like mine as great minds do think alike, from the Salvation Army thrift shop. Her leggings and shoes are hand me-down favorites. Kia is sporting a fair trade scarf from Ten Thousand Villages, and her favorite denim jacket, which she has proudly owned for about a decade! Her long maxi skirt is from a fashionable Philadelphia second hand shop, Buffalo Exchange. I hope you have a very Merry Christmas and Haoppy Holidays with however many parties you like!

Phil, Jessica, Stephen, Mark, Nikki, Melissa, and Miriam just starting to get their craft on!
*Marcie
     

Wednesday, November 2, 2011

Halloween Party Time!

Robot Ben H. proud winner of the night's costume contest
The other week friends of ours, Jenn and Dominic, hosted a Halloween party, complete with costumes, tasty treats, mauled cider, and a trip to the State Penitentiary. Now, as I do love Halloween, but do not enjoy being frightened I had no plans on joining the party into the bowels of the prison. Ah, but things seldom go as planned {but more on that later…}

Jenn, the hostess with the mostest
Earlier in the week I acquired an 80’s jazzy jazz witch top at Past and Present in Mount Airy, which I coupled with black stretchy pants, a classic witch hat, and a wee little broom.  Jenn was keeping her costume a surprise. And when my boyfriend, Ben (who wore IN-Security guard jacket of his own creation ;) arrived at the fete, we discovered Jenn had created a cute and appropriately creepy baby-doll persona. 
Dominic's so scary, I want my mummy!


Her dress was a carefully chosen secondhand little number. Her boyfriend Dominic donned a homemade mummy costume, constructed out of long-johns and ripped cloth. 


Jake's Lederhosen made with love, by Grams!
I was quite fond of the costume worn by Jake,an absolutely lovely lederhosen sewn decades ago by his grandmother. Apparently it was not leather, but one of the first pleather incarnations! Hats off to Grandma because anyone who sews knows what a pain working in pleathure can be!


PCOM partygoers! 
Naturally this party had a costume contest, which brings me to the most creative costume of all, the robot by Ben H {pictured at top}. Inspired by LCD Sound System’s video for Home (video is great, but not suitable for young kids), Ben constructed this costume from cardboard, venting, duct-tape, and silver spray-paint. It was an industrial masterpiece, in which he managed to do everything, from dancing to traversing the haunted halls of the Penitentiary.  The only thing he couldn’t do was sit….
dance dance party party

 By the time I took the picture at the top the haunted halls had taken their toll, and  our robot friend showed some signs of wear and tare. But, as you can see even in this condition, R2D2 and Johnny Five would still be proud! Both at the party and in the prison Robot Ben, seen to your right -------->
busting a move, was quite the hit! 


Then this party moved our costumed behinds to the Penitentiary... {more to come...}


Mr. "In-Security" and I


                 *Marcie 

Tuesday, November 1, 2011

Halloween is a time to shine for moms with BA's in ART!

Charlie as Boba Fett and Lucy as an Elmo Princess, 2011


Kristen, Charlie, and Lucy 2010
Halloween is over, but I still want to showcase some of my favorite costumes from this year {I've tucked away a few for next years entries, too}. So, you don't need an art degree to create costumes like this, but it helps! Once you take a look at the adorable costumes made by my friend Kristen, I think you'll agree! Back in College Kristen and I took a wearable art class, where the human body became the "canvas" and fabric, the "paint." 


Charlie, as Thomas the Tank Engine, 2008
When I saw the quality and variety of the costumes Kristen made for her children, Charlie and Lucy, my mind went back to our times scouring the campus for unusual materials and bursts of inspiration {of course, back then our projects were more avant garde}. Take a look at these outfits, all, save for Batman, made by Kristen. Let them help inspire you for next year! Thank you, Kristen, and enjoy!


Charlie as the family dog,  Breezer, 2007
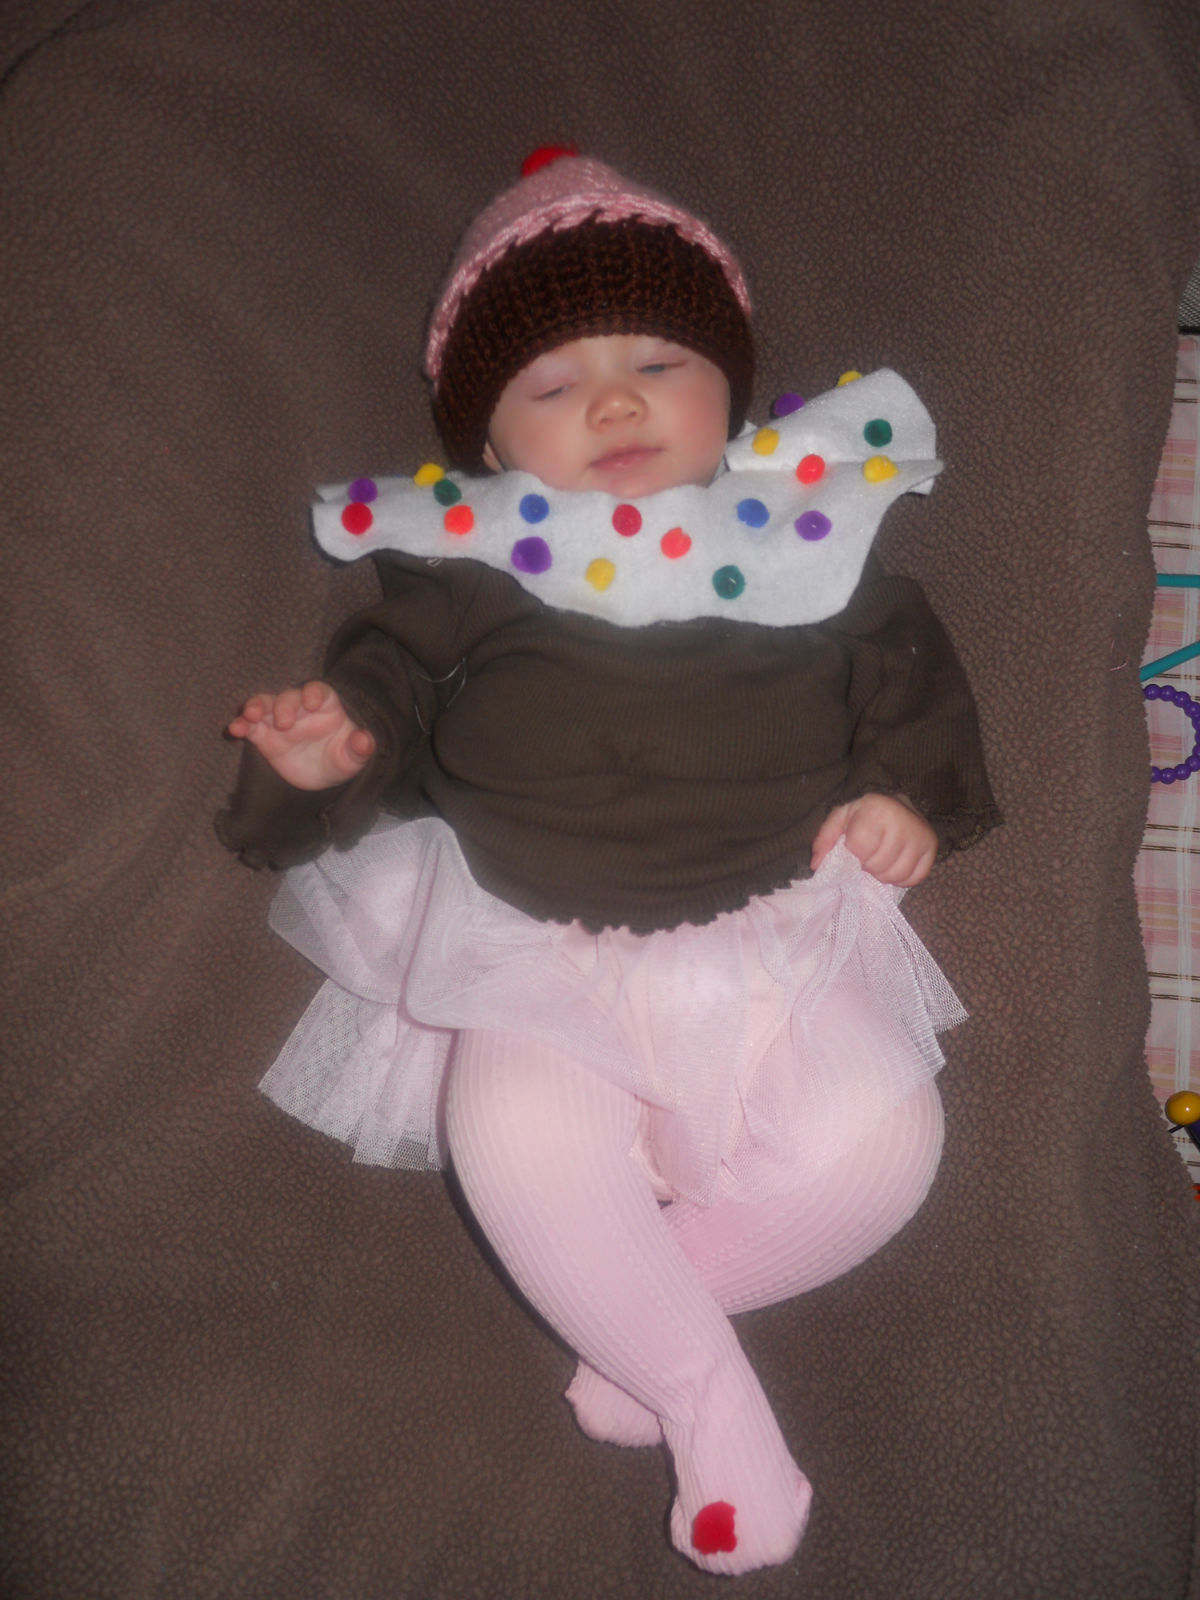
Lucy as a cupcake, 2010


                                                                                         *Marcie


Wednesday, October 26, 2011

Make Your Own {Ent} Mask!

I am lucky some extremely creative friends.  One day while perusing facebook I noticed Steve  Colon, a really great guy I went to college with, had constructed a really great mask for Halloween! Any Lord of the Rings fans out there? Well, you’ll be excited because this mask is of an  Ent {from Anglo-Saxon for "Giant"}, which is the name Tolkien gave for his tree people in the Lord of the Rings saga.
      Even if you’re not into Lord of the Rings, you’ll be into this mask because it’s just plain awesome! Steve very graciously provided me with instructions and pictures so anyone who’s interested can make their own. So if you’d like to break away from the pack this Halloween and impress party-goers or little trick-or-treaters, there’s still time for you to follow Steve’s lead and make an Ent mask of your own. This is also great if you’re involved in theatrical productions and want to create a fantasy mask. Thank you again, Steve!   
   
                         *Marcie


Instructions in Steve's words:


You will need: Corrugated cardboard, Gorilla glue, scissors, box cutters, a paint brush, pencils, an eraser, clothespins, masking tape, a 6" protractor, acrylic paints (red, blue, yellow, black, and white or you can buy more specific colors if you aren't confident in your mixing abilities), and a palate/something to mix paint on. Other helpful items you may want: Paper towels, a bowl of water (to clean the brush between colors and to help affix the gorilla glue), and something to put under your project like newspaper or parchment and a cutting board.

Step 1: Trace outside of the protractor with your pencil.
Step 2: Mark approximately every 10 degrees and draw a 1" line from the outside of the protractor.
Step 3: Connect the tips of these lines with your pencil.
Step 4: Invert the protractor, line up the ruler side with the bottom of your semi-circle. Trace the interior of the protractor.
Step 5: Draw a line from either side of larger semi-circle to the outside of the smaller semi-circle as pictured. Draw a 1" line from where this line touches the small semi-circle and connect it to the other outside lines as shown.
Step 6: Draw the eyes. You can make these as large or as small as you like, but remember to leave about .5" in the middle. Anything more and it will be very difficult to see out of. You can draw these free-hand or by using a cup to make perfect circles.


Step 7: Draw the nose. The center line should be about 2" long. From the bottom of this line, draw a 1" line going slightly upwards on either side. Draw converging lines on the outside of the nose, connecting all three lines. Erase the top .5" of the three lines. 
Step 8: Cut out the mask using scissors.
Step 9: Cut out the eyes and nose using the box cutter. You may want to shave off little bits around the nose to make it more comfortable to wear as I have done in this picture. Try it on and see what parts feel like they are pressing and carefully remove small slivers until it is comfortable. Remember not to remove the inner pieces of the nose entirely.
Step 10: Cut small, acute triangles from the lines on the top of the mask. Be careful not to cut too far into the forehead.
Step 11: Fold the flaps back.
Step 12: Tape the flaps together using the masking tape. This is what it should look like when you are done taping the flaps.
Step 13: Securely tape the nose into place. I suggest wearing the mask while applying tape to the outside of the mask to prevent making the nose too small. (Kind of like applying a breath rite strip.)Make sure to tape both the inside and outside of the nose, securing the tape by wrapping tape through the eye holes as pictured.

Step 14: Cut out a mustache. It can be as long or as short as you like. It shouldn't be too symmetrical. You can use either the scissors or the box cutter to do this.
Step 15: Cut out eyebrows. Again, don't make them too symmetrical.
Step 16: cut out the "crown". This part should look like random tree branches and should fit approximately to the forehead of the mask. You can make it out of one piece, or several layered pieces as I am doing here.
Step 17: Cut out the beard and the lower lip. You may want to line it up with the bottom of the mask to make sure it fits fairly well. See what I mean? Also, you can cut the square edges off the bottom of the mask if you like. This is purely an aesthetic choice on your part.
Here is what the mask looks like without paint.
Step 18: Mix your paints. If you are using primaries, mix red, yellow, and black to make whatever shade of brown you like. Make sure to make enough to cover the entire mask. Once you have the color you're looking for, add a little black to some and a little white to a different part to give yourself three separate shades of brown. You'll also want to mix two shades of grey, a dark green (blue and yellow with a bit of black), a light green (same as previous without the black) white, and black.
 Step 19: Paint the mask and the crown the "middle" shade of brown.
 Step 20: Paint the facial hair the dark shade of brown. Paint the lower lip the light shade of brown. using the dark and the light shades of brown, add shading and texture to the branches.
Generally I like to put the dark side on the lower parts of the branch and the light on top. You should also add speckles and spots to make it look something like bark.
Step 23: Using the dark and light green, add vines or moss to the branches.
Step 24: Repeat the process on the mask itself. You don't need to be as concerned with detail here as much of this will be covered over with other parts of the mask.
Step 25: Layer shades of brown, grey, green, as well as small bits of black onto the facial hair in a rough approximation of hair.
Step 26: Paint the lower lip like so, using light brown and grey. Outline it with white.

Step 27: Once the facial hair is dry, outline each piece with white paint.
Step 28: Apply Gorilla glue to each piece you want to attach to the mask and dampen the adjacent piece with water. Make sure to spread the glue in a thin layer over the part you want to stick. This allows for even adhesion and prevents over expansion of the glue. If the glue expands noticeably, you can always scrape off the foam while it is still fresh with relative ease.
Step 28 con't: Use clothespins to secure each piece until the glue expands and hardens.Repeat as necessary, applying the branches to each other, the eyebrows to the base of the crown.
Attaching the lower lip to the beard...The moustace just under the nose...
And Finally the beard to the crown and beard to the mask.
Give each connection an hour to dry, or half an hour if you are using fast setting gorilla glue (recommended.) At this point you can punch holes on the sides of the face, attach a rubber band and wear as you storm Isengard!